Putting It All Together
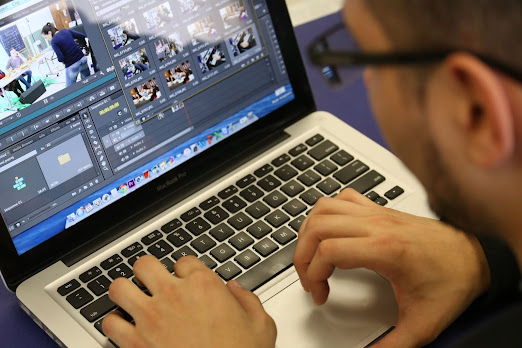
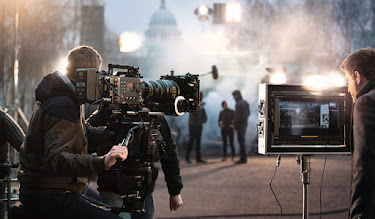
Today, Sarah and I began the editing process of the commercial. This is the next and final step of the project before it is completed. Firstly, I had to look through the takes with Sarah and find the best ones to use for the final product. In addition, it was a challenge to try and find a good video editing app for the project. However, I was able to do some editing when I got home. Sarah and I both took part in editing the video. While she did a lot of editing since she had the recordings on her phone, I participated in the editing and also searched for a video editing app that would be good to use. Eventually, the takes were able to be uploaded onto a computer. I made sure to keep in touch with Sarah so she and I could share details about the editing process. Editing the commercial involved doing many things to perfect the commercial. I had to add in audio, create good transitions, and add logos and words. The first thing I needed to do in order to begin editing was to organize the footage in the correct order. By correct order, I mean the order in which they were planned to be in during the storyboard/planning process. Next, I had to create clean transitions between the clips (i.e. fade in/fade out, slide in/slide out) to make them look more dramatic and presentable. However, a quick cut would work quite well in between some clips, too. Many commercials use quick cuts between their shots rather than special transitions, which has proven to be just as effective. Another important step in the editing process was timing the clips well enough so that they would begin and end at good times. This is not only to make the commercial look more well put-together, but it would also help keep it within the allowed time total of 27-30 seconds. The editing process is a fun part of the project because it is the stage of putting everything together and adding in special effects to make it look awesome.


Comments
Post a Comment